Cmder is a pre-configured software package that provides you with an awesome terminal emulator, it feels more like bash in Linux and it can manage aliases beautifully. Cmder has options for beautifying the command prompt, but oh-my-posh looked better. In this post, I’m exploring oh-my-posh with Cmder and integrating the beautified Cmder into the Windows terminal and VS Code.
Installing Cmder
There are different ways to install Cmder, below is the official recommendation, if you want to explore other ways please see here
-
Download the latest release
-
Extract the archive to your desired folder, eg:
C:\tools\Cmder⚠ Caution: This path should not be
C:\Program Filesor anywhere else that would require Administrator access for modifying configuration files. Furthermore, please do not place Cmder in a folder that will contain spaces in the path, e.g. NOT inC:\Users\etc\Google Drive. -
Setup the
%CMDER_ROOT%environment variable. Instructions -
Run
Cmder.exe
Installing oh-my-posh
Installing it via PowerShell, for other ways, please refer documentation
-
Open a PowerShell prompt and run the following
Set-ExecutionPolicy Bypass -Scope Process -Force; Invoke-Expression ((New-Object System.Net.WebClient).DownloadString('https://ohmyposh.dev/install.ps1')) -
For the
PATHto be reloaded, a restart of your terminal is advised. -
Install a font, Oh My Posh has a CLI to help you select and install a Nerd Font (beta): Meslo LGM NF, but any Nerd Font should be compatible with the standard themes.
⚠Windows: This command needs to be executed as admin. The fonts are installed system wide.
oh-my-posh font install -
Customize oh-my-posh, there are plenty of customization options are available with oh-my-posh, please refer the configuration to understand and make your ideal prompt, for now we can use a sample config, please copy full content from this link and paste it your new local file
e.g:C:/Users/david/sample.omp.json
Connecting Cmder and oh-my-posh
Cmder connects with oh-my-posh through Clink, to make this connection, create a new file called oh-my-posh.lua in the Cmder’s scripts folder with below content, to find the scripts folder run clink info inside cmd.
load(io.popen('oh-my-posh init cmd --config C:/Users/david/sample.omp.json'):read("*a"))()
this file will be automatically executed while opening Cmder, and oh-my-posh will be rendered inside Cmder with the provided configuration.
[Optional] Integrating the Cmder to Windows Terminal
We can also integrate cmder and oh-my-posh combo with Windows Terminal which is a new, modern, feature-rich, productive terminal emulator for Widows 10 by default.
Instructions
-
Download and install the Windows Terminal from the Microsoft store: download page, Windows 11 usually comes with Windows Terminal already pre-installed.
-
Ensure the
%CMDER_ROOT%environment variable setup properly in the previous steps. -
Open Windows Terminal, then press
Ctrl+,(Control-Comma) to open the Settings file (settings.json). If you see the GUI settings page, from the left side click on the ⚙ icon at the bottom of the sidebar.The settings file will be opened in your default text editor program for editing.
-
Navigate to
profilesand add the following item to thelistattribute. You can place it at the top if you want Cmder to be the first item in the dropdown selection window.{ "guid": "{00000000-0000-0000-ba54-000000000132}", "commandline": "cmd.exe /k \"%cmder_root%/vendor/init.bat\"", "icon": "%cmder_root%/icons/cmder.ico", "name": "Cmder", // You can give a custom name here "closeOnExit": "graceful", "hidden": false }, -
Change the Windows Terminal font settings to use previously installed Nerd Font. This can be easily done by modifying the Windows Terminal settings (default shortcut:
CTRL + SHIFT + ,). In yoursettings.jsonfile, add thefont.faceattribute under thedefaultsattribute inprofiles:{ "profiles": { "defaults": { "font": { "face": "MesloLGM NF" } } } }⚠️ TEXT RENDERER: To ensure correct rendering of the glyphs you will need to enable the option Use the new text renderer (“AtlasEngine”) in your terminal settings.
[Optional] Integrating the Cmder to VS Code Terminal
To run Cmder shell as the VS Code terminal, follow the instructions below:
-
Press
Ctrl+,(Control-Comma) to access VS Code Settings, search forterminal profiles windows, then click Edit in settings.json. -
In the
settings.jsonfile, append or modify the followingCmderterminal profile into your configuration file:"terminal.integrated.profiles.windows": { "Cmder": { "path": [ "${env:windir}\\Sysnative\\cmd.exe", "${env:windir}\\System32\\cmd.exe" ], "args": ["/k", "${env:cmder_root}\\vendor\\bin\\vscode_init.cmd"], "icon": "terminal-cmd", "color": "terminal.ansiGreen" } }, "terminal.integrated.defaultProfile.windows": "Cmder", -
Change the VS Code font settings to use previously installed Nerd Font. This can be easily done by modifying the VS Code settings (default shortcut:
CTRL + ,). In yoursettings.jsonfile, add theterminal.integrated.fontFamilyattribute under theterminal.integratedattribute:{ "terminal.integrated.fontFamily": "MesloLGM NF" } -
Restart VS Code, then open a new terminal (Press
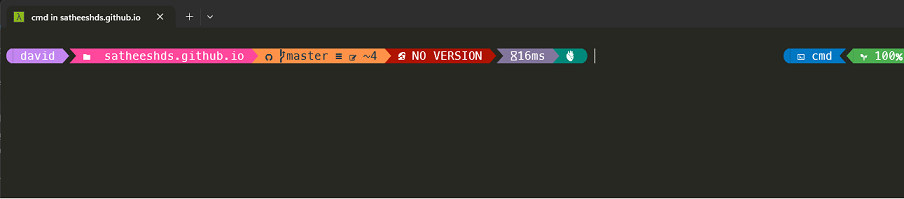
Ctrl +` (Control-Tilde)), you should see the Cmder shell.